
Knowledge Base / Frequently Asked Questions / Room Alert Monitors (PRO, MAX, and Legacy)
AVTECH offers two types of flood sensors: the Flood Sensor – Cable and the Flood Sensor – Spot.

You may view recommendations for these two sensors below. For more information, please also see the Flood Sensor – Cable and Flood Sensor – Spot installation notes.
The Flood Cable encompasses that area of concern and will enter an alarm state no matter where on its length the water touches.

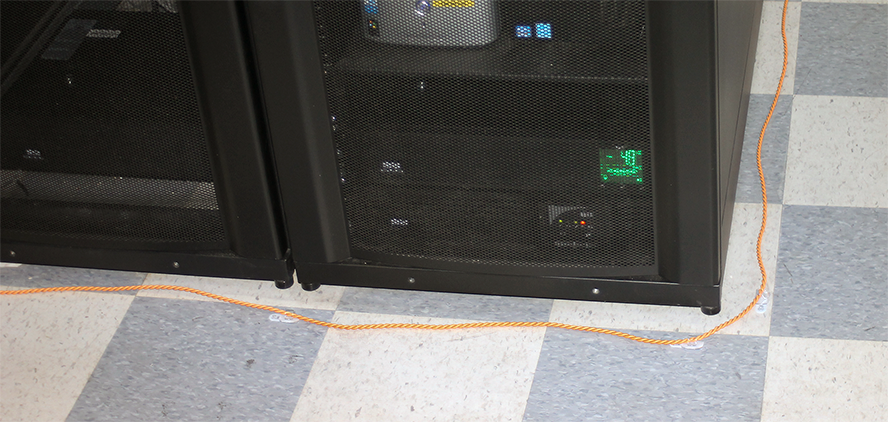
Install the Flood Cable directly on the floor so that there are no gaps between the cable and the floor’s surface.
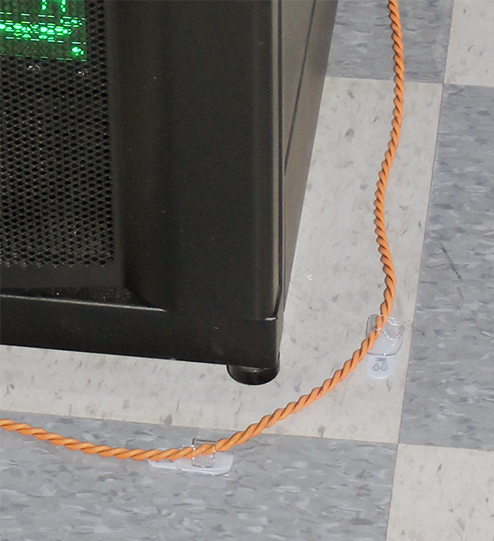
Use self-adhesive nylon or plastic cable clips to hold the Flood Cable in place. Cable clips typically won’t pinch or bind the cable, which can cause false alarms.
Typically, you should place the clips 5 to 6 feet apart.
However, you should place them 3 feet apart when the cable runs in front of a CRAC (Computer Room Air Conditioning) unit.
You may need additional clips around corners and curves or to prevent gaps between the cable and the floor.
You may need a drop of silicone or other non-conductive adhesive to hold the clip to a porous concrete floor—self-adhesive backing may not hold well on such floors.
Avoid placing the Flood Cable in the direct downstream of air conditioners, which discharge moisture. To avoid false alarms, place the cable 4 to 6 feet away from air conditioning units.
Don’t run the Flood Cable through dirty or greasy areas. The floor must be clean for the cable to function properly and for the cable clips to adhere. (You may need to clean the floor before installing the Flood Cable.)
Install the Flood Cable out of the way of foot traffic, and avoid stepping on it. Also avoid rolling, dropping, or setting heavy items on the Flood Cable, as they can damage it.
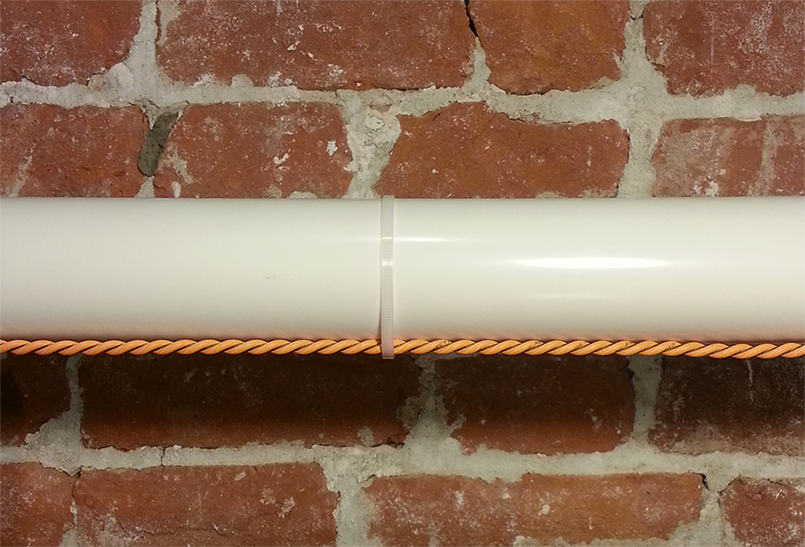
To install the Flood Cable on a horizontal pipe, attach it to the bottom of the pipe with cable ties or tape every 2 to 3 feet.
To install the Flood Cable on a vertical pipe, wrap it around the pipe at a repeating 30 to 45 degree angle. Secure it with cable ties every 3 to 5 feet.
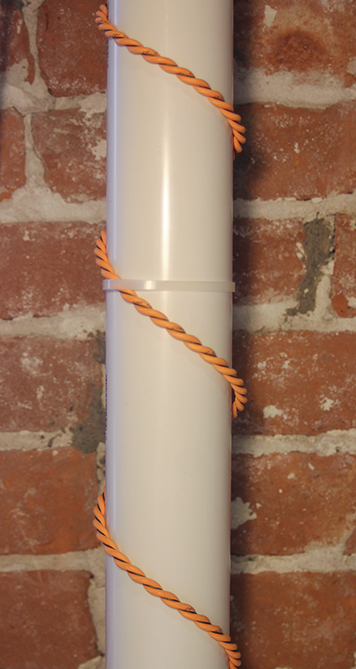
After installing the Flood Cable on a chilled water line, wrap the pipe with insulation to help control condensation, which can trigger alarms.

Water must bridge a pair of conductive threads on the Flood Cable in order for the sensor to go into an alarm state.
Once you’ve connected the components of the Flood Sensor – Cable as shown in the Flood Sensor – Cable Installation Note, you may test the Flood Cable:

Pour out about a 2 inch puddle of water and put a section of the Flood Cable into it.
or
Wrap a clean damp cloth or paper towel around a section of the Flood Cable.
Avoid completely saturating the section of cable while you are testing it, as it will take longer to dry.
When the cable detects water, the LED on the Flood Sensor box will blink steadily and the switch state on the Status page of the Room Alert Monitor web interface will change to Open.
You may then dry the cable with a clean cloth or paper towel. The Flood Sensor – Cable will go into a clear state once the cable is completely dry.
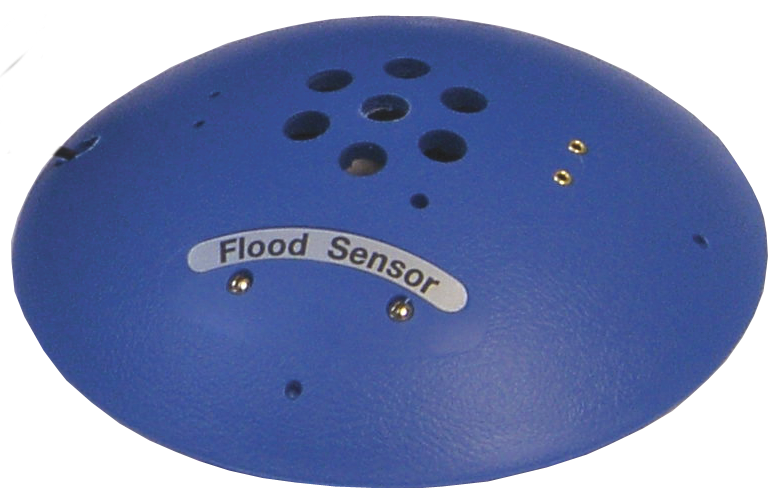
The Flood Sensor – Spot is best used in small area where water predictably collects, typically in a low spot or other known problem areas (like under an HVAC condensate pump). When liquid collects underneath the blue housing, it bridges the 2 adjustable-height contacts and trips the sensor.
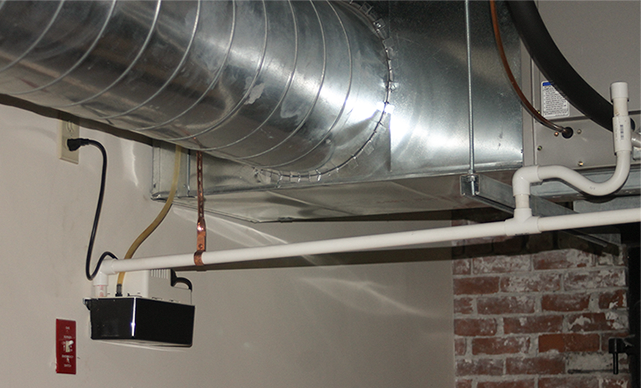
HVAC condensate pump that can fail, causing a water leak to the floor
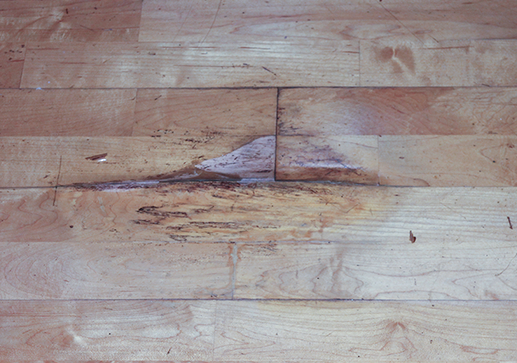
Spot on the floor where water predictably collects when the condensate pump fails
This is a job for Flood Sensor – Spot!
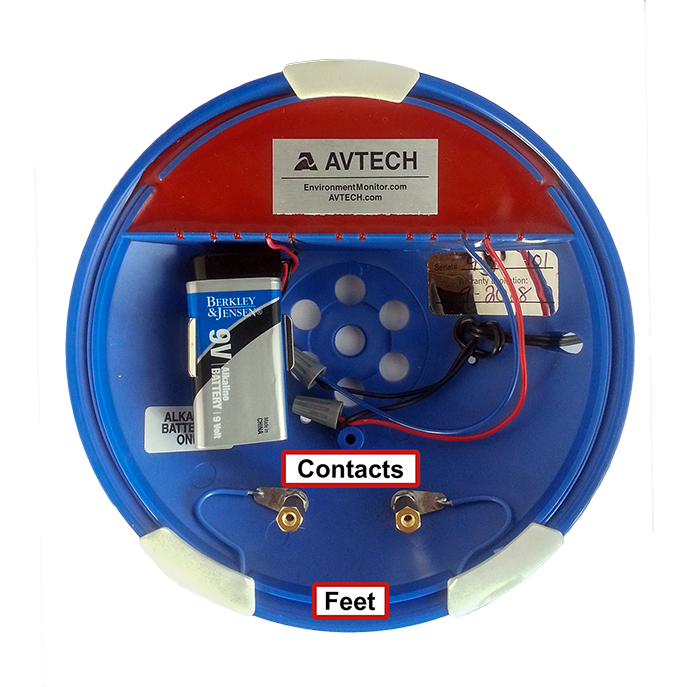
The contacts on the Flood Sensor – Spot are factory set to 1/32″ off the ground.
You may adjust the contacts individually from 0″ to 1/8″ high to change the depth of water that will trigger the sensor. (To simulate the distance to the floor, rest a straight-edge on the feet closest to the contacts while you adjust them.)
Avoid putting the contacts down further than 1/32″, as mere dampness, a film of dirt or any conductive material on the floor may trigger false alarms.
If you install the Flood Sensor – Spot on a metallic floor, be sure to leave a gap between the contacts and the surface of the floor to avoid false alarms.
The self-adhesive feet on the bottom of the blue housing allow you to fasten the sensor to trouble-spots and also provide a gap to admit water to the contacts.
Don’t take the feet off of the unit, even if you aren’t using the self-adhesive backing. Without the feet between them, the housing and surface may form a seal, and water won’t reach the contacts until it’s risen up the sides or over the top.
Test the Flood Sensor every 6 months to make sure the 9V alkaline battery is still working, and replace the battery once a year. (If your Flood Sensor – Spot gets activated often, you may need to replace it sooner.)
Use 9V alkaline batteries in your Flood Sensor – Spot—do not use rechargeable batteries.
Water must bridge the two contacts underneath the enclosure in order for the sensor to enter an alarm state.

Once you’ve connected the the Flood Sensor – Spot as shown in the Flood Sensor – Spot Installation Note, you may test it by simply bridging the two contacts with a paper clip. The switch state on the Status page of the Room Alert Monitor web interface will change to Open.
We'd love to talk with you about your monitoring needs. Contact one of our Product Specialists for a free consultation.


You may find Windows Command Prompt at the following path:
To run Windows Command Prompt as an administrator:

If you are using this client, you should configure the general SNMPv3 Credentials, but leave the Read / Write SNMPv3 Credentials section blank.
| Current S models | Current E models |
|---|---|
| Room Alert 32S | Room Alert 32E |
| Room Alert 12S | Room Alert 12E |
| Room Alert 3S | Room Alert 4E |
| Room Alert 3E | |
| S models | E & W models |
|---|---|
| Room Alert 32S | Room Alert 32E |
| Room Alert 12S | Room Alert 12E |
| Room Alert 3S | Room Alert 4E |
| Room Alert 3E | |
| Room Alert 3W |
| Model |
|---|
| Room Alert MAX |
| Room Alert 32S |
| Room Alert 12S |
| Room Alert 3S |
| Room Alert 32E/W |
| Room Alert 12E |
| Room Alert 4E |
| Room Alert 3E |
| Room Alert 3 Wi-Fi |
