Support

Knowledge Base  /  Frequently Asked Questions  /  Room Alert Manager  /  Device-ManageR-to-Room-Alert-Manager Import Tool

How to Make a Custom Device ManageR Folder for the Room Alert Manager Import Tool (Legacy)

This legacy tool was removed from Room Alert Manager in v2.3.1.

Before you start: Preview the custom folder contents.

The folder you create will look as shown below.

  • The root folder, here called “Custom_DeviceManageR_Source_Folder,” will contain 7 files from Device ManageR’s “conf” folder.
7 files (xml and txt) from Device ManageR’s “conf” folder
  • A sub-folder, which must be called “db,” will contain the SENSORS and DEVICES tables from your Device ManageR database.
2 exported Device ManageR database tables in csv format
Step 1: Stop the Device ManageR service.

Stop the Device ManageR service. This FAQ shows you how: How To Stop, Start And Restart The Device ManageR Service.

Step 2: Copy and paste 7 files from Device ManageR's conf folder.

On Device ManageR’s host computer:

  1. Create an empty folder some place easy to remember, like Documents or your Desktop. Call the folder whatever you want. (You could call it, for example, “Custom_DeviceManageR_Source_Folder.”)
  2. In Windows Explorer, navigate to Device ManageR’s installation folder. By default, this folder is located at:
    • C:\Program Files (x86)\AVTECH Device ManageR (on 64-bit Windows computers)
    • C:\Program Files\AVTECH Device ManageR (on 32-bit Windows computers)
  3. First, copy and paste the just the required “conf” folder files.
  4. Locate and open the “conf” folder.
  5. Copy just the 7 files listed below and paste them into your source folder:
    • action_schedules.xml
    • actions.xml
    • alerts.xml
    • blacklist.txt
    • contacts.xml
    • settings.xml
    • tcphostlist.txt
  6. Now create a sub-folder in your source folder. Name it “db.” (It MUST be called that.) You’ll need this sub-folder for the next step, where you export 2 tables from your Device ManageR database.
Step 3: Export the SENSORS and DEVICES tables from your Device ManageR database.

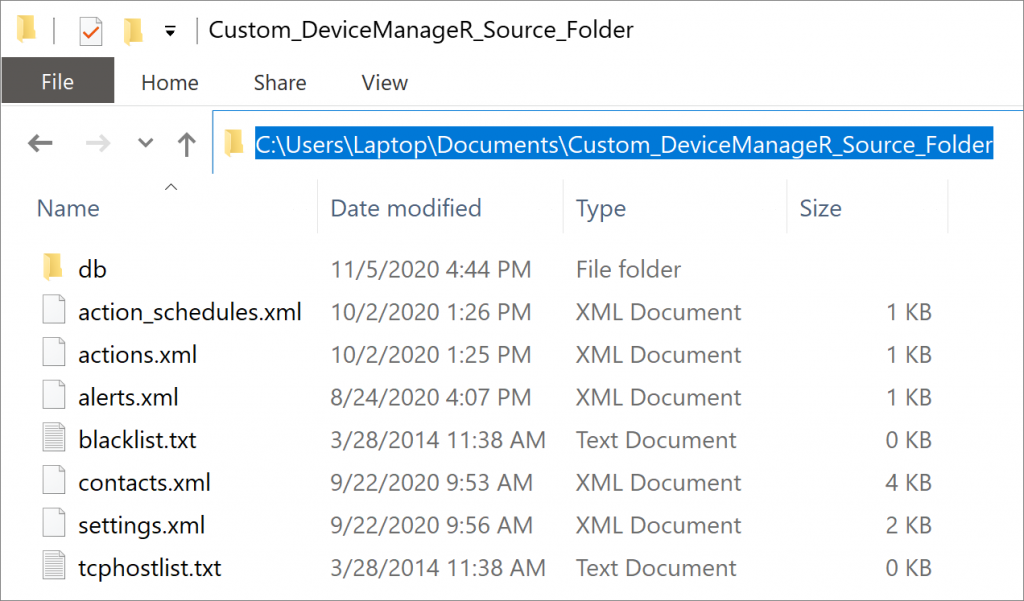
Follow the instructions below to export your SENSORS and DEVICES tables to csv files and put them into your “db” sub folder.

How to Export from MySQLHow to Export from SQL ServerHow to Export from Device ManageR v6.3.6 Embedded H2 Database
  1. Open MySQL Workbench.
  2. Open a New Query tab. Enter and execute this query:
    • Use devicedb
  3. Open another New Query tab.
    • Enter and execute this query: Select * from sensors
    • In the output toolbar, select the Export recordset to an external file button.
    • Call the file SENSORS.csv. (It MUST be named that.)
    • Save it to the “db” sub-folder inside your custom Device ManageR source folder.
  4. Open a third New Query tab.
    • Enter and execute this query: Select * from devices
    • In the output toolbar, select the Export recordset to an external file button.
    • Call the file DEVICES.csv. (It MUST be named that.)
    • Save it to the “db” sub-folder inside your custom Device ManageR source folder.
  1. Open Microsoft SQL Server Management Studio.
  2. Open a New Query.
    • Enter and execute this query: SELECT * FROM [DeviceDB].[dbo].[SENSORS]
    • In the Results panel, right-click on any of the column headers and select Save Results As…
    • Call the file SENSORS.csv. (It MUST be named that.)
    • Save it to the “db” sub-folder inside your custom Device ManageR source folder.
  3. Open another New Query.
    • Enter and execute this query: SELECT * FROM [DeviceDB].[dbo].[DEVICES]
    • In the Results panel, right-click on any of the column headers and select Save Results As…
    • Call the file DEVICES.csv. (It MUST be named that.)
    • Save it to the “db” sub-folder inside your custom Device ManageR source folder.

Typically, you do not need to create a custom folder if you are importing from a Device ManageR v6.3.6 that writes to the embedded H2 database. You can point the Import Tool directly at your Device ManageR installation folder.

However, if your situation requires it, you can follow these steps to export the SENSORS and DEVICES tables from your embedded database into the “db” subfolder you created earlier.

Step 1: Download and install the H2 Database Engine Console.

  1. In your browser, go to https://www.h2database.com/html/main.html
  2. In the Download section, select Windows Installer.
  3. Run the installer. Keep the default options.

Step 2: Open the console and test its connection to Device ManageR.

  1. Open the H2 console by navigating in Windows to StartH2H2 Console.
  2. The Login page of the console opens. Leave everything on that page at defaults except JDBC URL . . .
  3. In JDBC URL, enter “jdbc:h2:file:” followed by the full path to Device ManageR’s installation folder.
    • Use forward slashes (“/”), not back slashes (“\”) between the folders.
    • Here is an example:
      • jdbc:h2:file:C:/Program Files (x86)/AVTECH Device ManageR/DeviceDB/DeviceDB
  4. Then select Test Connection.
  5. Confirm that you see the Test successful message at the bottom of the window.

Step 3: Connect to the database and export the files.

  1. Select Connect.
  2. Your embedded H2 database opens in your browser.
  3. In the SQL statement box (under the Run button):
    • Enter these 2 commands:
      • call CSVWRITE (‘path to the db sub-folder/SENSORS.csv’, ‘SELECT * FROM SENSORS’);
      • call CSVWRITE (‘path to the db sub-folder/DEVICES.csv’, ‘SELECT * FROM DEVICES’);
    • Here is an example. (Be sure to put forward-slashes “/” between the folders, not back slashes “\”.)
      • call CSVWRITE (‘C:/Users/Laptop/Documents/Custom_DeviceManageR_Source_Folder/db/SENSORS.csv’, ‘SELECT * FROM SENSORS’ );
      • call CSVWRITE (‘C:/Users/Laptop/Documents/Custom_DeviceManageR_Source_Folder/db/DEVICES.csv’, ‘SELECT * FROM DEVICES’ );
  4. Select Run. Notice the confirmation messages below the commands.
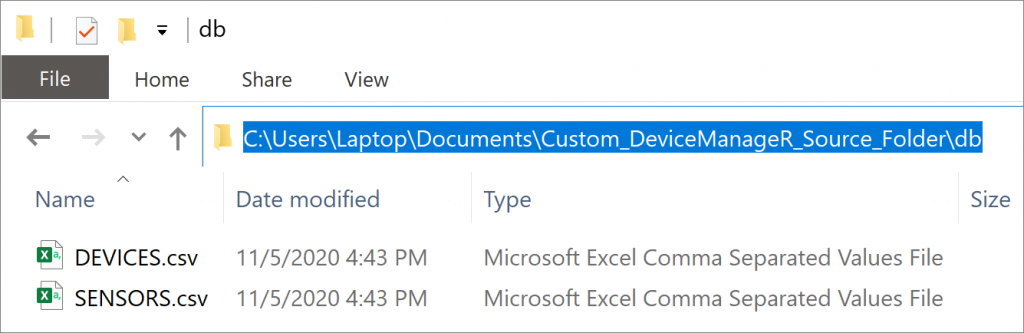
  5. Then check your “db” sub-folder–the CSV files should be there.

Once you have your source folder ready, you may run the Device-ManageR-to-Room-Alert-ManageR Import Tool and point it at that folder.

Facebooktwitterredditpinterestlinkedinmail
Room Alert is Made in the USA, ships worldwide from our locations in the US and EU, and has been protecting facilities since 1988.

You may find Windows Command Prompt at the following path:

  • Windows 7 & 8
    Start--> All Programs--> Accessories--> Command Prompt
  • Windows 10
    Start--> All Apps--> Windows System--> Command Prompt

To run Windows Command Prompt as an administrator:

  • Windows 7 & 8
    Right-click on Command Prompt and select Run as administrator.
  • Windows 10
    Right-click on Command Prompt, select More and then select Run as administrator.

Example Polling Method Properties saved in Orion SolarWinds:

If you are using this client, you should configure the general SNMPv3 Credentials, but leave the Read / Write SNMPv3 Credentials section blank.

Room Alert Link- Supported Firmware Updates


Current S modelsCurrent E models
Room Alert 32SRoom Alert 32E
Room Alert 12SRoom Alert 12E
Room Alert 4E
Room Alert 3E

Room Alert Manager - Compatible Devices

The latest version of Room Alert Manager supports only the devices below.

It does not support any legacy Room Alert or TemPageR models.

Current S modelsCurrent E models
Room Alert 32SRoom Alert 32E
Room Alert 12SRoom Alert 12E
Room Alert 3SRoom Alert 4E
Room Alert 3E
Room Alert 3W