
Knowledge Base / Frequently Asked Questions / Room Alert Discovery Utility
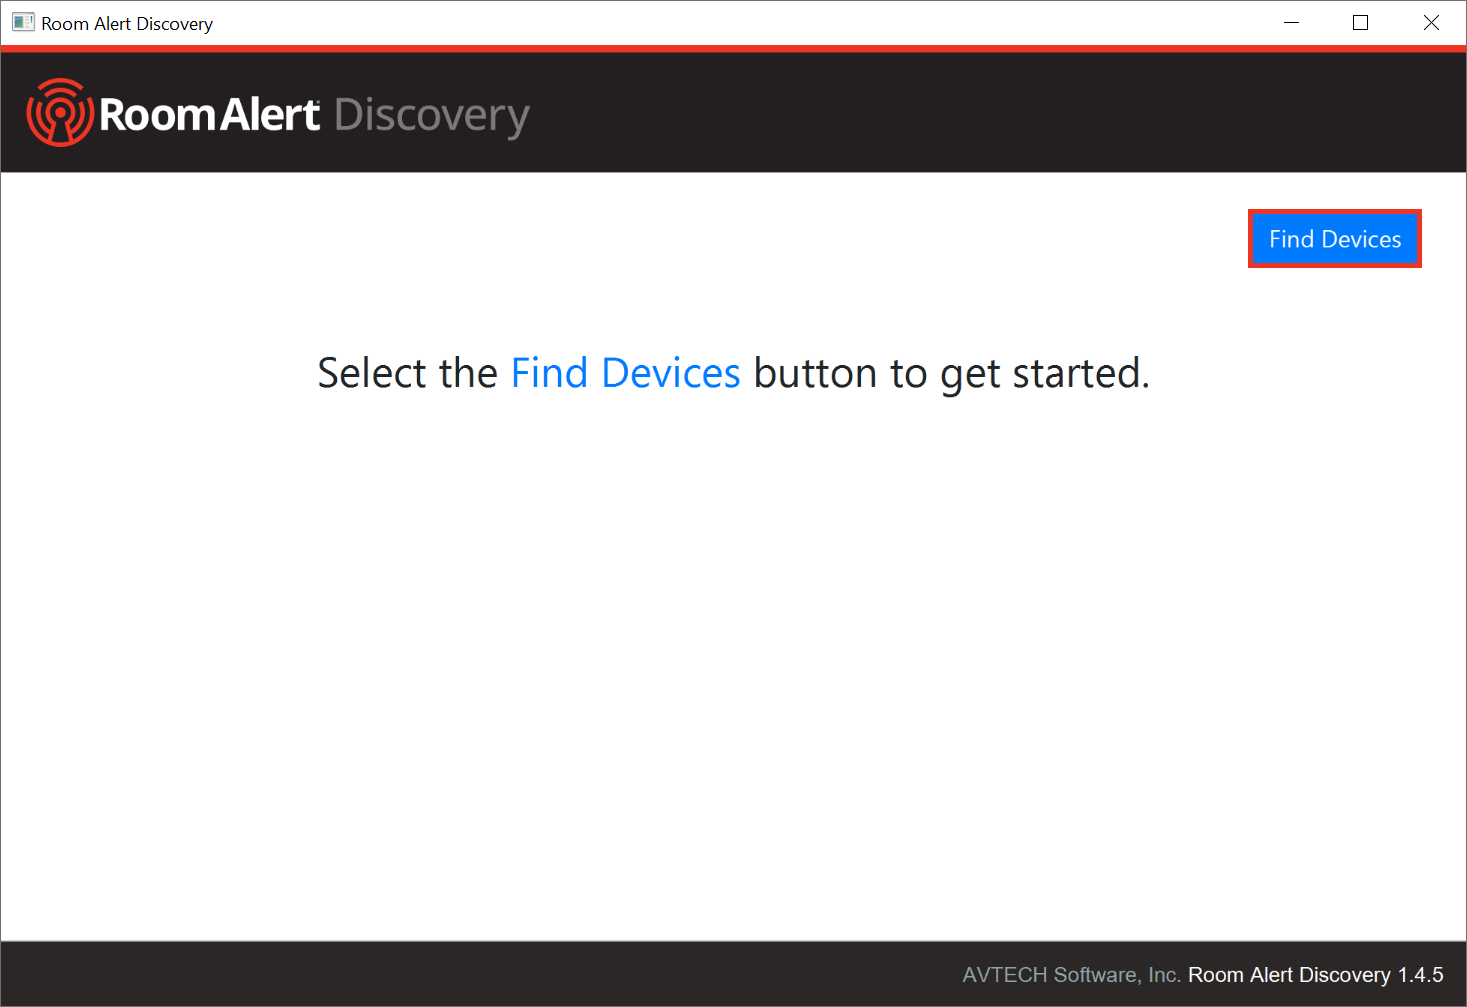
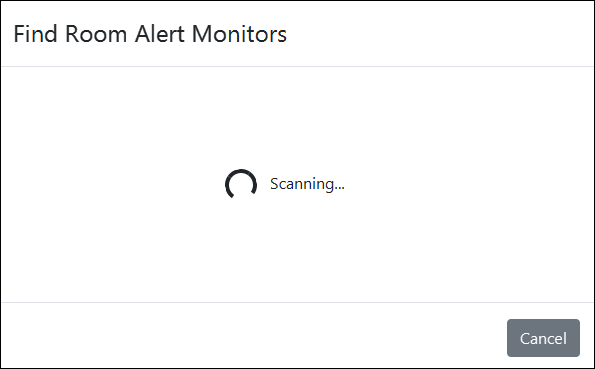
The Room Alert Discovery utility is a simple tool that you may use to discover your Room Alert Monitors and perform firmware updates on them*.
Room Alert Discovery can discover these types of devices: Room Alert MAX, 32S, 12S, 3S, 32E/W, 12E, 4E, 3E and 3 Wi-Fi. (Room Alert Discovery cannot perform firmware updates on Room Alert MAX at this time.)
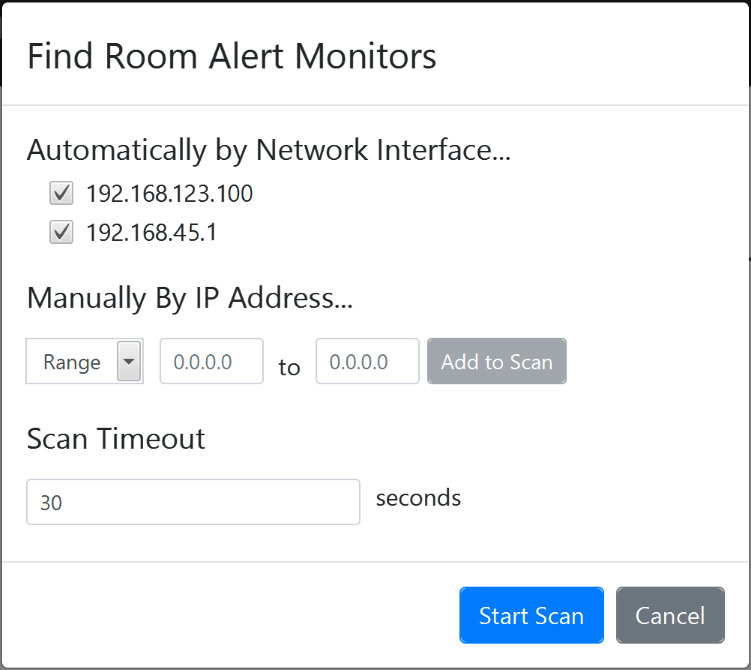
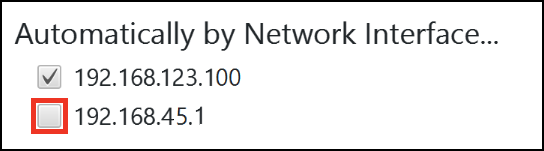
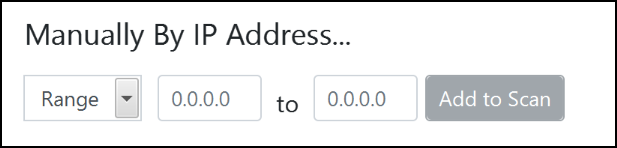
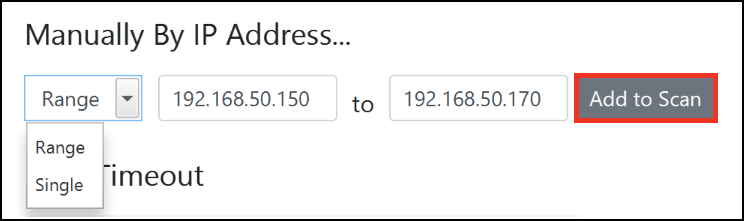
Unlike Room Alert Manager, the discovery utility only scans for devices when initiated by a user. Once prompted, Room Alert Discovery scans your network in the following ways:
For more information, please see our FAQ, List Of Ports Required By Room Alert Products.


We'd love to talk with you about your monitoring needs. Contact one of our Product Specialists for a free consultation.


You may find Windows Command Prompt at the following path:
To run Windows Command Prompt as an administrator:

If you are using this client, you should configure the general SNMPv3 Credentials, but leave the Read / Write SNMPv3 Credentials section blank.
| Current S models | Current E models |
|---|---|
| Room Alert 32S | Room Alert 32E |
| Room Alert 12S | Room Alert 12E |
| Room Alert 3S | Room Alert 4E |
| Room Alert 3E | |
| S models | E & W models |
|---|---|
| Room Alert 32S | Room Alert 32E |
| Room Alert 12S | Room Alert 12E |
| Room Alert 3S | Room Alert 4E |
| Room Alert 3E | |
| Room Alert 3W |
| Model |
|---|
| Room Alert MAX |
| Room Alert 32S |
| Room Alert 12S |
| Room Alert 3S |
| Room Alert 32E/W |
| Room Alert 12E |
| Room Alert 4E |
| Room Alert 3E |
| Room Alert 3 Wi-Fi |
