
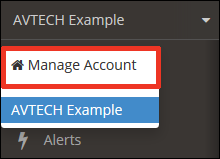
Knowledge Base / Frequently Asked Questions / Room Alert Account (RoomAlert.com)
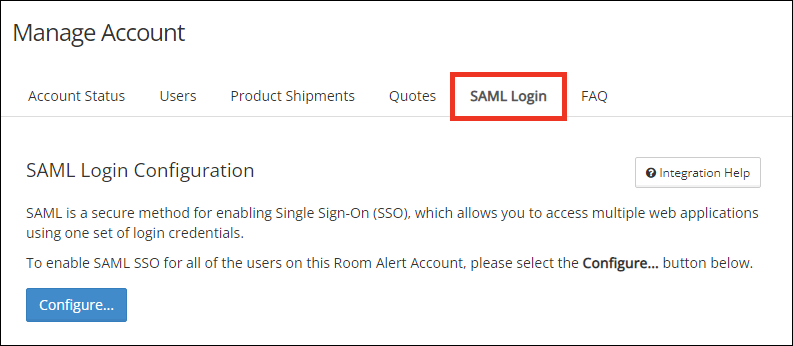
If your organization’s Room Alert Account has been upgraded to the Enterprise level or higher, you may configure the account for SAML Single-Sign-On (SSO). Along with mitigating password-related security risks, enabling SAML SSO gives you the ease of managing users through your own centralized user management system.
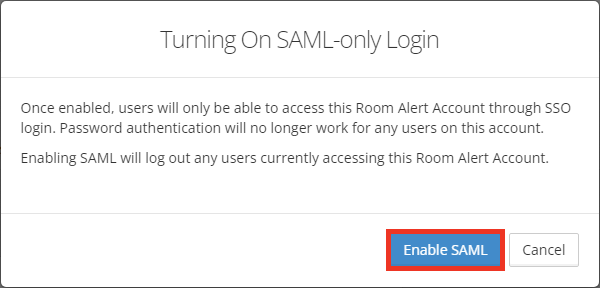
Any administrator or provisioner* can enable or disable SAML SSO in RoomAlert.com. This is a global account setting, meaning that when it’s enabled, all users on the account must use SAML authentication; users can no longer log in with a password. *For more information, please see the “Types of user roles” section of our FAQ, How To Manage User Access To Your RoomAlert.com Account.
In order to set up SAML Login for Room Alert Account, you will need to configure settings with both RoomAlert.com and your Identity Provider (IdP).
Depending on your Identity Provider (IdP), the names of required fields will vary.
Entity ID URL
https://account.roomalert.com/auth/saml/meta/example
Assertion Consumer Service URL
https://account.roomalert.com/auth/saml/acs/example
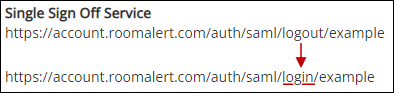
Single Sign Off Service URL
https://account.roomalert.com/auth/saml/logout/example
Metadata XML URL
https://account.roomalert.com/auth/saml/meta/example
Create assertions in your IdP for each of the required attributes.
First Name attribute
account.roomalert.com.givenname
Last Name attribute
account.roomalert.com.surname
Email attribute
account.roomalert.com.emailaddress
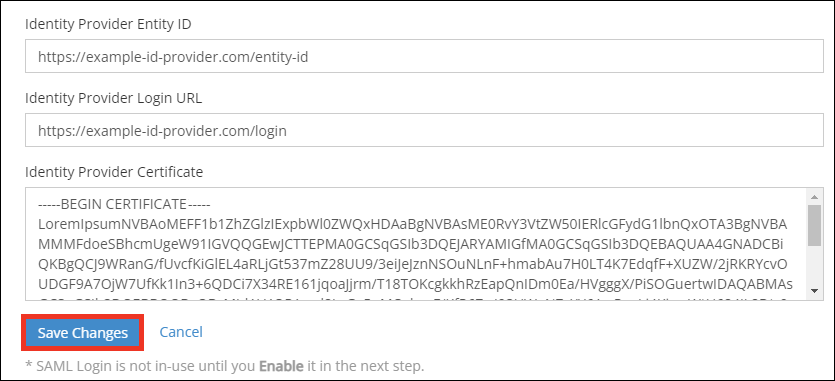
Saving these changes does NOT enable SAML SSO for the account. That’s done in a later step.
Please follow these instructions to enable SAML SSO for your organization’s Room Alert Account:
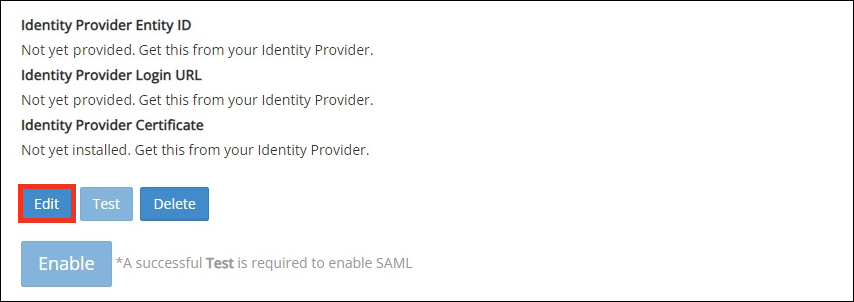
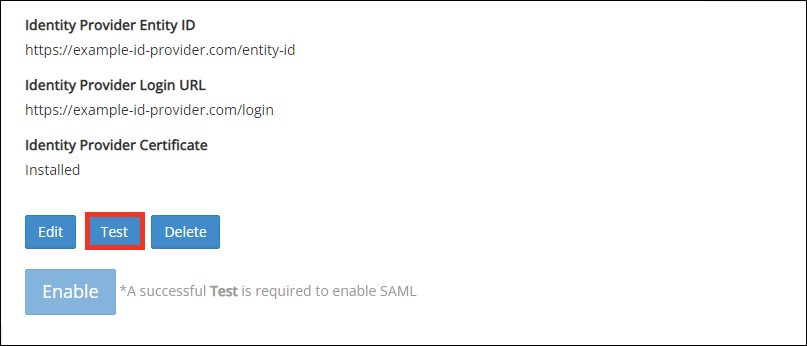
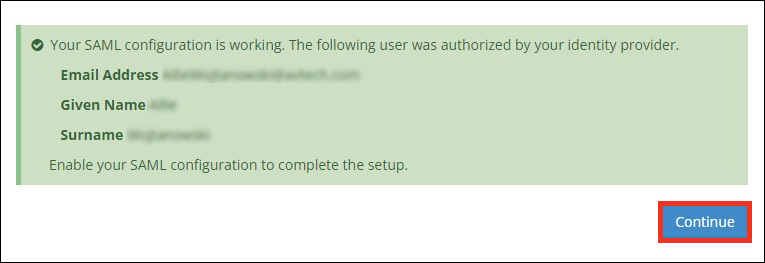
Before you begin, you must have successfully tested your SAML configuration. For instructions, please see the How To Configure SAML Login tab.
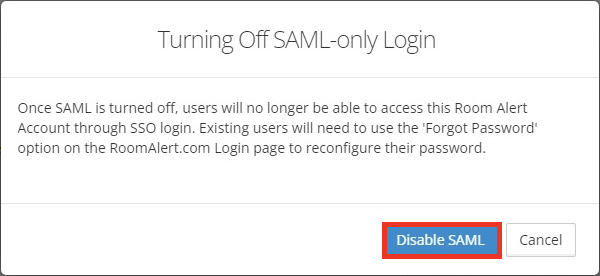
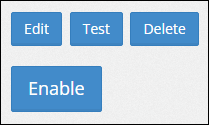
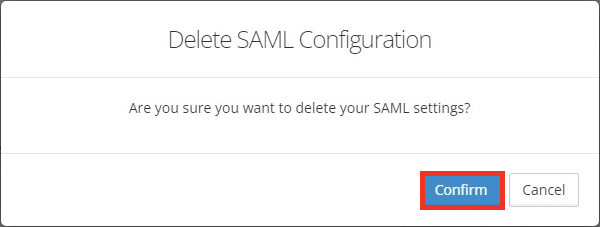
In order to edit, test, or delete your SAML configuration, you must first disable SAML on the account. To do this, please follow these steps:
We'd love to talk with you about your monitoring needs. Contact one of our Product Specialists for a free consultation.


You may find Windows Command Prompt at the following path:
To run Windows Command Prompt as an administrator:

If you are using this client, you should configure the general SNMPv3 Credentials, but leave the Read / Write SNMPv3 Credentials section blank.
| Current S models | Current E models |
|---|---|
| Room Alert 32S | Room Alert 32E |
| Room Alert 12S | Room Alert 12E |
| Room Alert 3S | Room Alert 4E |
| Room Alert 3E | |
| S models | E & W models |
|---|---|
| Room Alert 32S | Room Alert 32E |
| Room Alert 12S | Room Alert 12E |
| Room Alert 3S | Room Alert 4E |
| Room Alert 3E | |
| Room Alert 3W |
| Model |
|---|
| Room Alert MAX |
| Room Alert 32S |
| Room Alert 12S |
| Room Alert 3S |
| Room Alert 32E/W |
| Room Alert 12E |
| Room Alert 4E |
| Room Alert 3E |
| Room Alert 3 Wi-Fi |
