
Knowledge Base / Frequently Asked Questions / Room Alert Manager
Room Alert Manager can perform Server Command Actions using SSH (Secure Shell protocol) key authentication. This FAQ walks you through the process of generating and storing an SSH key pair using the network connectivity tool OpenSSH.
For more information, see Key-based authentication in OpenSSH for Windows.
ssh -V


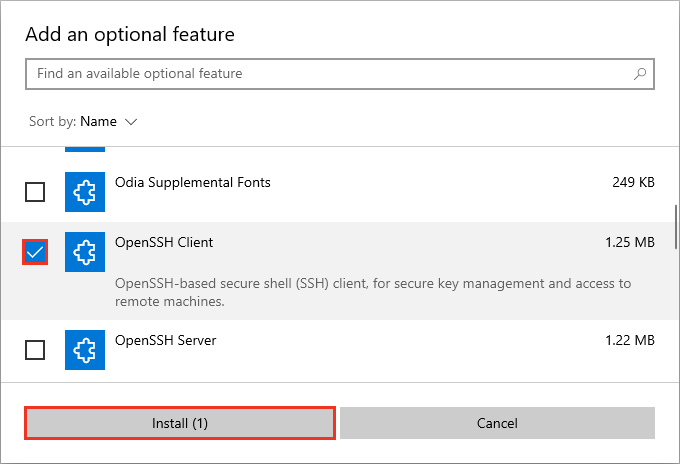
OpenSSH is built into modern versions of Windows as an “optional feature” (not installed by default). To install it:
Running an older version of Windows that doesn’t have OpenSSH built-in?
You can download OpenSSH from here: https://github.com/PowerShell/Win32-OpenSSH/tags. (We recommend downloading OpenSSH-Win64.zip of the v8.9.1.0p1-Beta release or newer.) You can find installation instructions in this tutorial: How to Install an OpenSSH Server/Client on A Windows 2016 Server.
On the target server, you must have an SSH daemon (sshd) running in the background, constantly waiting for an SSH connection.
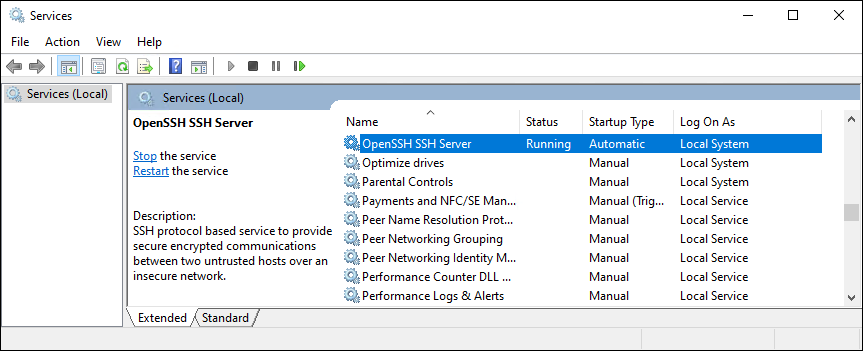
If the target server is Windows-based, you can check the SSH Server status through the Windows Services tool.
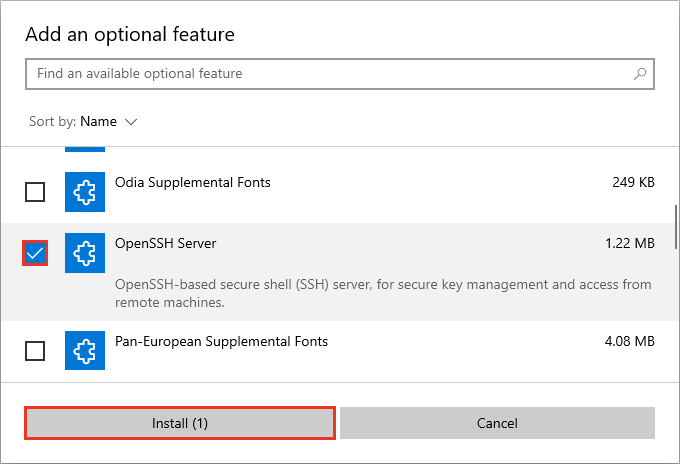
If the OpenSSH Server service isn’t found, you can follow these steps to install it:
Running an older version of Windows that doesn’t have OpenSSH built-in?
You can download OpenSSH from here: https://github.com/PowerShell/Win32-OpenSSH/tags. (We recommend downloading OpenSSH-Win64.zip of the v8.9.1.0p1-Beta release or newer.) You can find installation instructions in this tutorial: How to Install an OpenSSH Server/Client on A Windows 2016 Server.
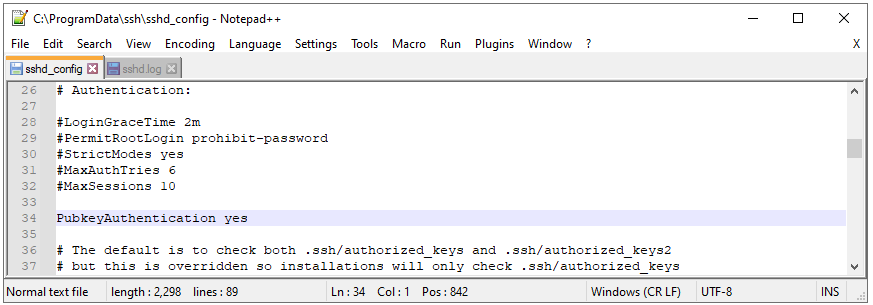
Once the service is installed, configure it to allow SSH public key authentication.
If the target server is Linux or Unix-based, you can use a simple command* to check the SSH Server status.
*Different versions of Linux/Unix systems require slightly different commands than what’s listed below.
sudo systemctl status sshd
sudo systemctl start sshd.service to start it.If there is no SSH Server installed, you can use a command like sudo apt install openssh-server to install OpenSSH Server. For more information, please see this SSH documentation, or reference recourses specific to your Linux system.
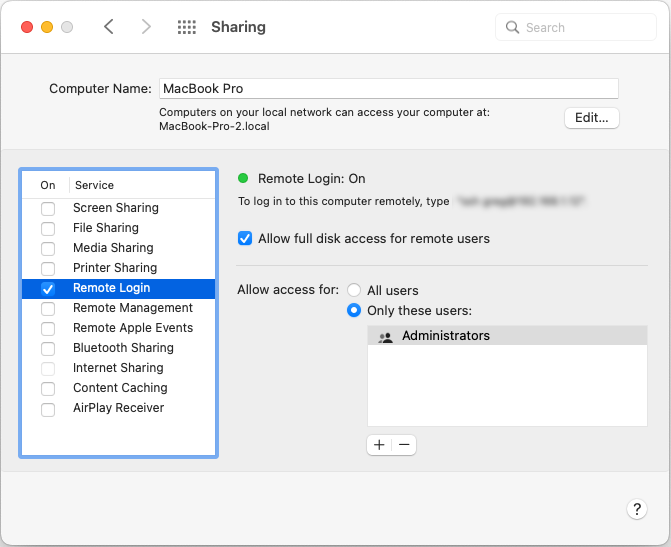
If the target server is a Mac, you can check the SSH Server status through System Preferences.
All Macs have a bundled SSH server that is disabled by default.
After generating the key pair, you’ll share the public key with the target server. The private key should remain securely stored on Room Alert Manager’s host system.
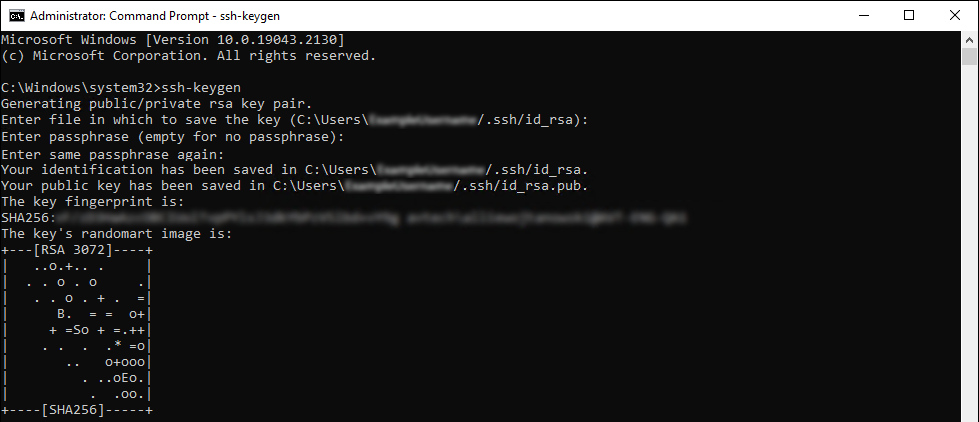
These steps show you how to generate an SSH key pair through command prompt:
ssh-keygen


We'd love to talk with you about your monitoring needs. Contact one of our Product Specialists for a free consultation.


You may find Windows Command Prompt at the following path:
To run Windows Command Prompt as an administrator:

If you are using this client, you should configure the general SNMPv3 Credentials, but leave the Read / Write SNMPv3 Credentials section blank.
| Current S models | Current E models |
|---|---|
| Room Alert 32S | Room Alert 32E |
| Room Alert 12S | Room Alert 12E |
| Room Alert 3S | Room Alert 4E |
| Room Alert 3E | |
| S models | E & W models |
|---|---|
| Room Alert 32S | Room Alert 32E |
| Room Alert 12S | Room Alert 12E |
| Room Alert 3S | Room Alert 4E |
| Room Alert 3E | |
| Room Alert 3W |
| Model |
|---|
| Room Alert MAX |
| Room Alert 32S |
| Room Alert 12S |
| Room Alert 3S |
| Room Alert 32E/W |
| Room Alert 12E |
| Room Alert 4E |
| Room Alert 3E |
| Room Alert 3 Wi-Fi |
