How To Create Alerts In Your RoomAlert.com Account (VIDEO)
You can watch a video demonstration below:
You may create alerts for your Room Alert Monitor in your Room Alert Account by following the same basic workflow each time:
First, select the sensor(s) you wish to apply a threshold to.
If your account is at the Enterprise level or higher, you may select multiple sensors to create multiple alerts at once.
Next, define your threshold.
Then configure your alert action(s).
Finally, define alert details like Name, Tags, and Timezone.
Alert notifications are sent from Alerts@RoomAlert.com. Please be sure that no spam or junk filters prevent you from receiving emails from this address.
Follow the instructions in the tabs below to create an alert through your Room Alert Account:
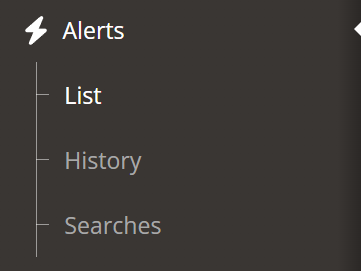
Select Alerts from the navigation bar to the left.
This opens the Alerts List.
Select New Alert to start the process.
The Configure New Alerts form will open.
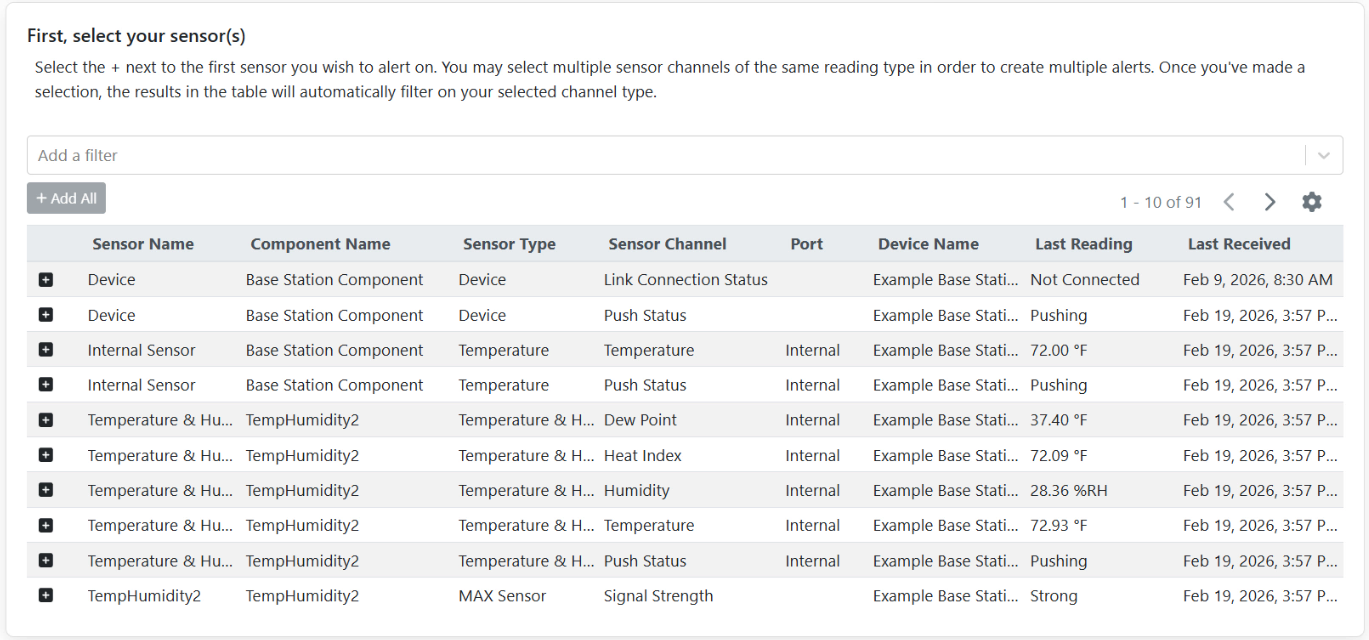
First, select your sensor(s).
In the Sensors section, review the table of available readings.
Each row represents a sensor channel.
(Optional) Use filters to narrow down the list and find the sensors you’re looking for.
Use thepagination controls above the table or thecog icon to adjust how many results are displayed and which columns are visible.
Click the plus icon next to a reading to add it to your alert.
After selecting your first sensor, the table will filter to show only readings of the same type.
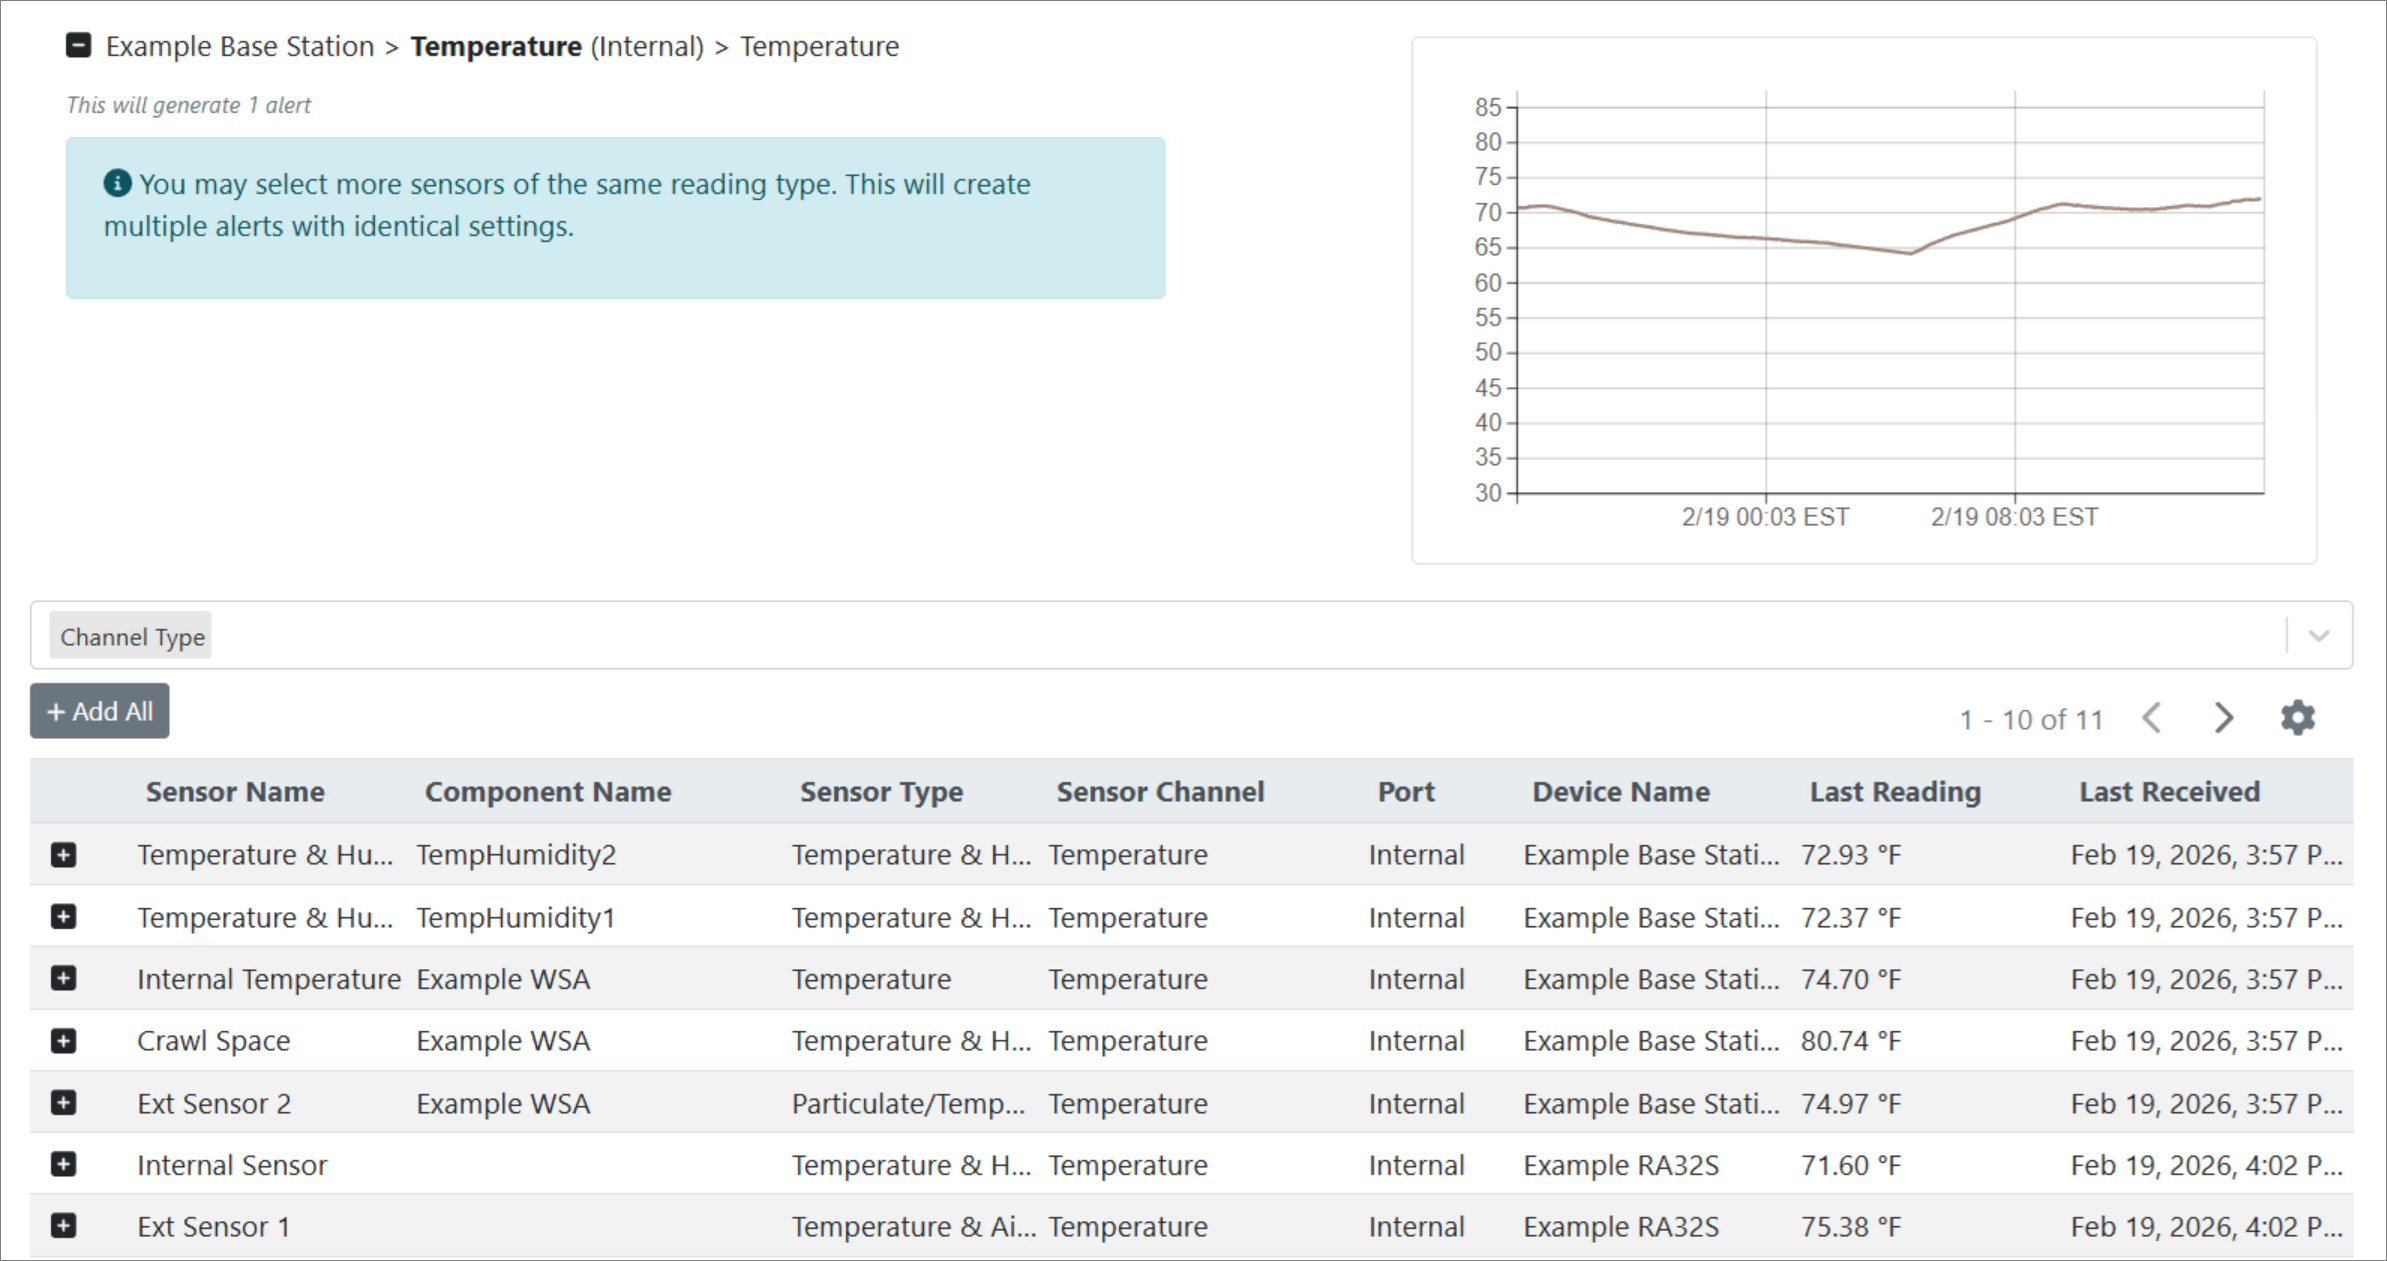
(Optional for Enterprise level accounts and higher) Select additional sensors.
Separate alerts will be created for each selected sensor.
Review the selected sensor(s) in the panel above the table:
A graph shows the last 24 hours of data for each selected sensor.
If a sensor doesn’t have 24 hours of data logged (for example, if it’s been unplugged), that’s ok; you can still create an alert for it.
Click Next.
Next, define your thresholds.
The Thresholds section appears next.
Choose how your threshold will be applied:
Independent – Each alert has its own threshold that can be edited individually later.
Shared – A reusable threshold that updates all linked alerts when edited.
Define your threshold conditions (operator and value) or select a saved threshold.
Click Next.
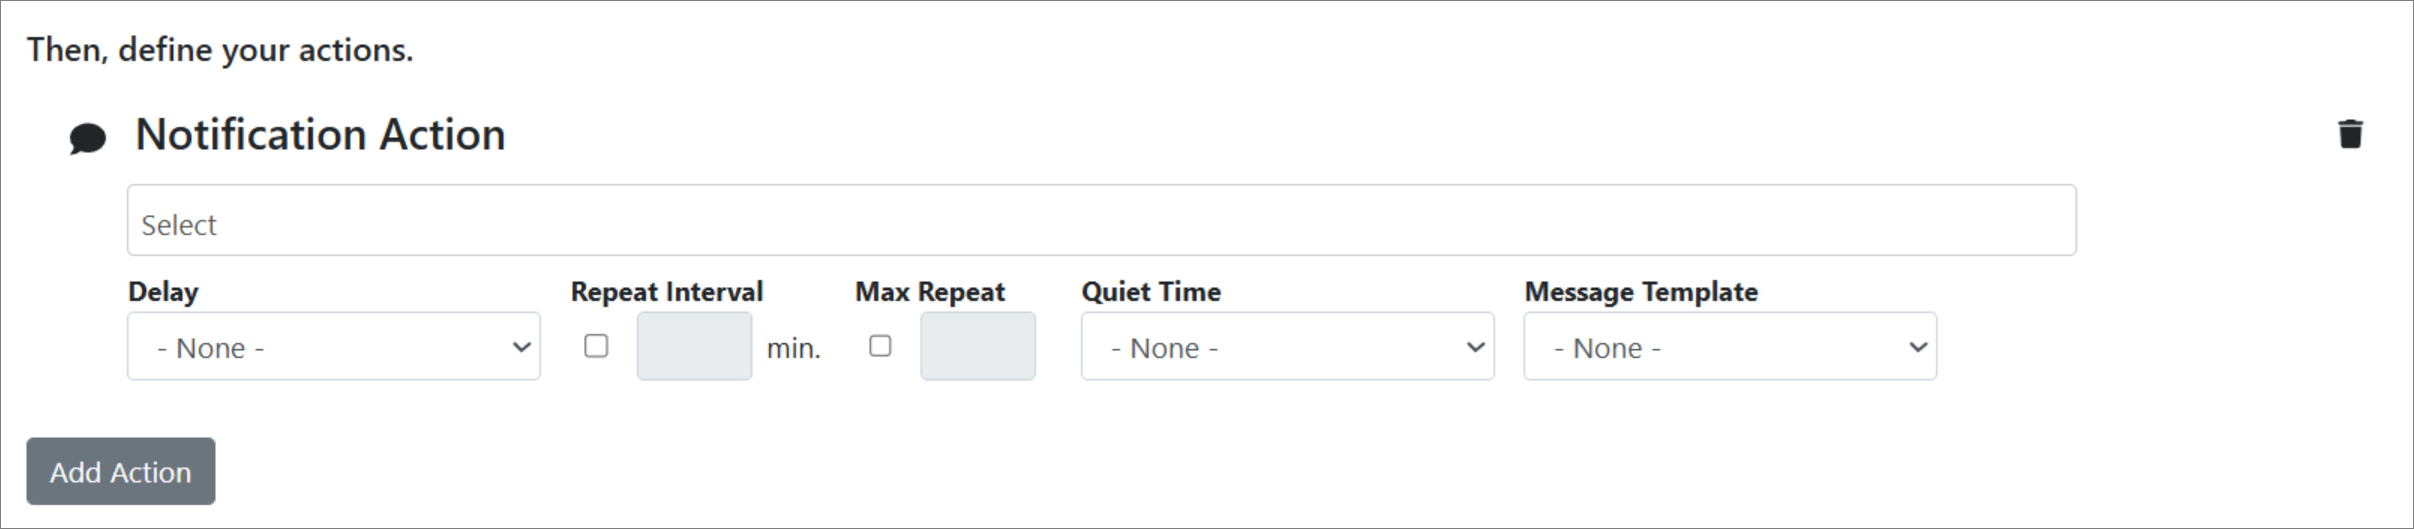
Then, configure alert actions.
The Actions section appears next; in this section, you define who gets notified and how.
Select an existing Notification Group or click Create New Group.
If you’re creating a new group, add as many recipients as you want in a single notification group.
You may add notification methods like emailing a user on the account or another email address, sending SMS to a user with mobile number saved to their account, sending push notifications to a user with the mobile app installed, and sending an HTTP Post.
(Optional for Professional level accounts and higher), you may also configure the following:
Delay the notifications.
Set an interval to wait. The notification will only send if the alert is still triggered after the delay period.
Configure the action to Repeat.
This send reminder notifications while an alert remains triggered and unacknowledged.
Select the interval at which you’d like the reminders to send.
If you’d like, you can set a maximum number of reminders.
Apply a saved or new Quiet Time Schedule.
This defines times when the notifications should not get sent.
Apply a saved or new Message Template.
Edit the contents of the email or SMS message sent when the alert triggers and clears.
(Optional for Professional level accounts and higher) Repeat step 2 & 3 to add additional actions to your alert.
Click Next.
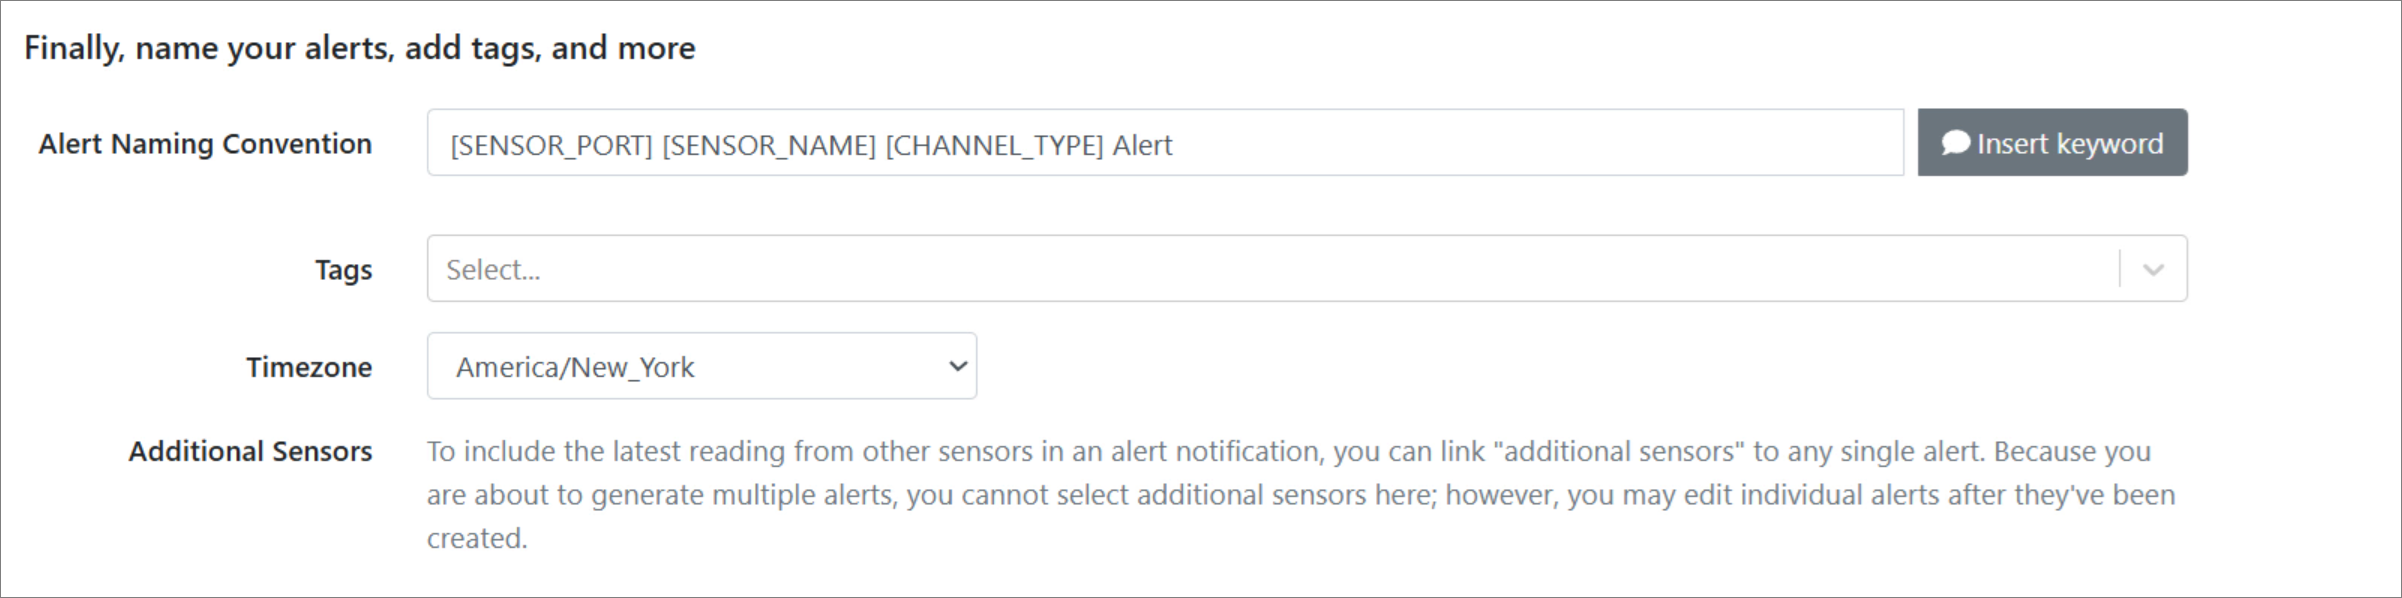
Finally, define your alert details.
The Alert Details section appears next.
Enter or edit the Alert Name (a suggested naming convention is provided).
If you are creating multiple alerts, it’s important to include Keywords to ensure your alerts get unique names.
(Optional) Add an existing Tag or type to create a new tag.
Confirm or adjust the Timezone.
(Optional) Include additional sensor readings in notifications for extra context.
If you are creating multiple alerts, additional sensors cannot be linked at this step. Instead, you can link additional sensors to each alert after it has been saved.
Click Next.
Review and create your alert(s).
Review the summary of alert(s) that will be created.
If changes are needed, either click the pencil icon to edit a section or click the button to Go back and make changes.
Click Create Alert(s) to save.
Room Alert is Made in the USA, ships worldwide from our locations in the US and EU, and has been protecting facilities since 1988.
You may find Windows Command Prompt at the following path:
Windows 7 & 8 Start--> All Programs--> Accessories--> Command Prompt
Windows 10 Start--> All Apps--> Windows System--> Command Prompt
To run Windows Command Prompt as an administrator:
Windows 7 & 8 Right-click on Command Prompt and select Run as administrator.
Windows 10 Right-click on Command Prompt, select More and then select Run as administrator.
Example Polling Method Properties saved in Orion SolarWinds:
If you are using this client, you should configure the general SNMPv3 Credentials, but leave the Read / Write SNMPv3 Credentials section blank.