Support

Knowledge Base  /  Frequently Asked Questions  /  Room Alert Manager

How To Configure Light And Relay Actions In Room Alert Manager

In order to toggle a Light Tower or Relay action on your Room Alert ‘S’ model, Room Alert Manager needs the device credentials. Please see our FAQ, How To Save Device Credentials In Room Alert Manager.

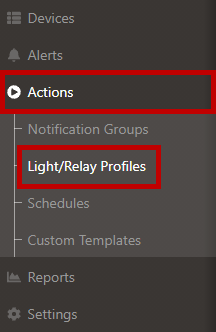
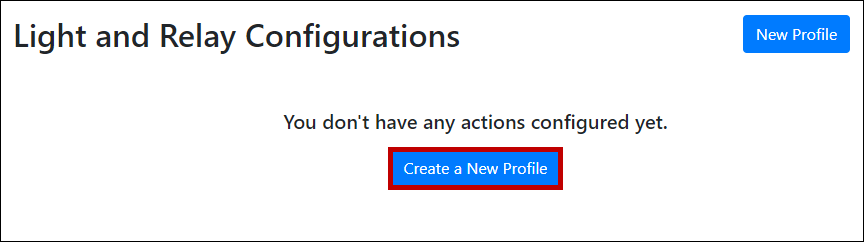
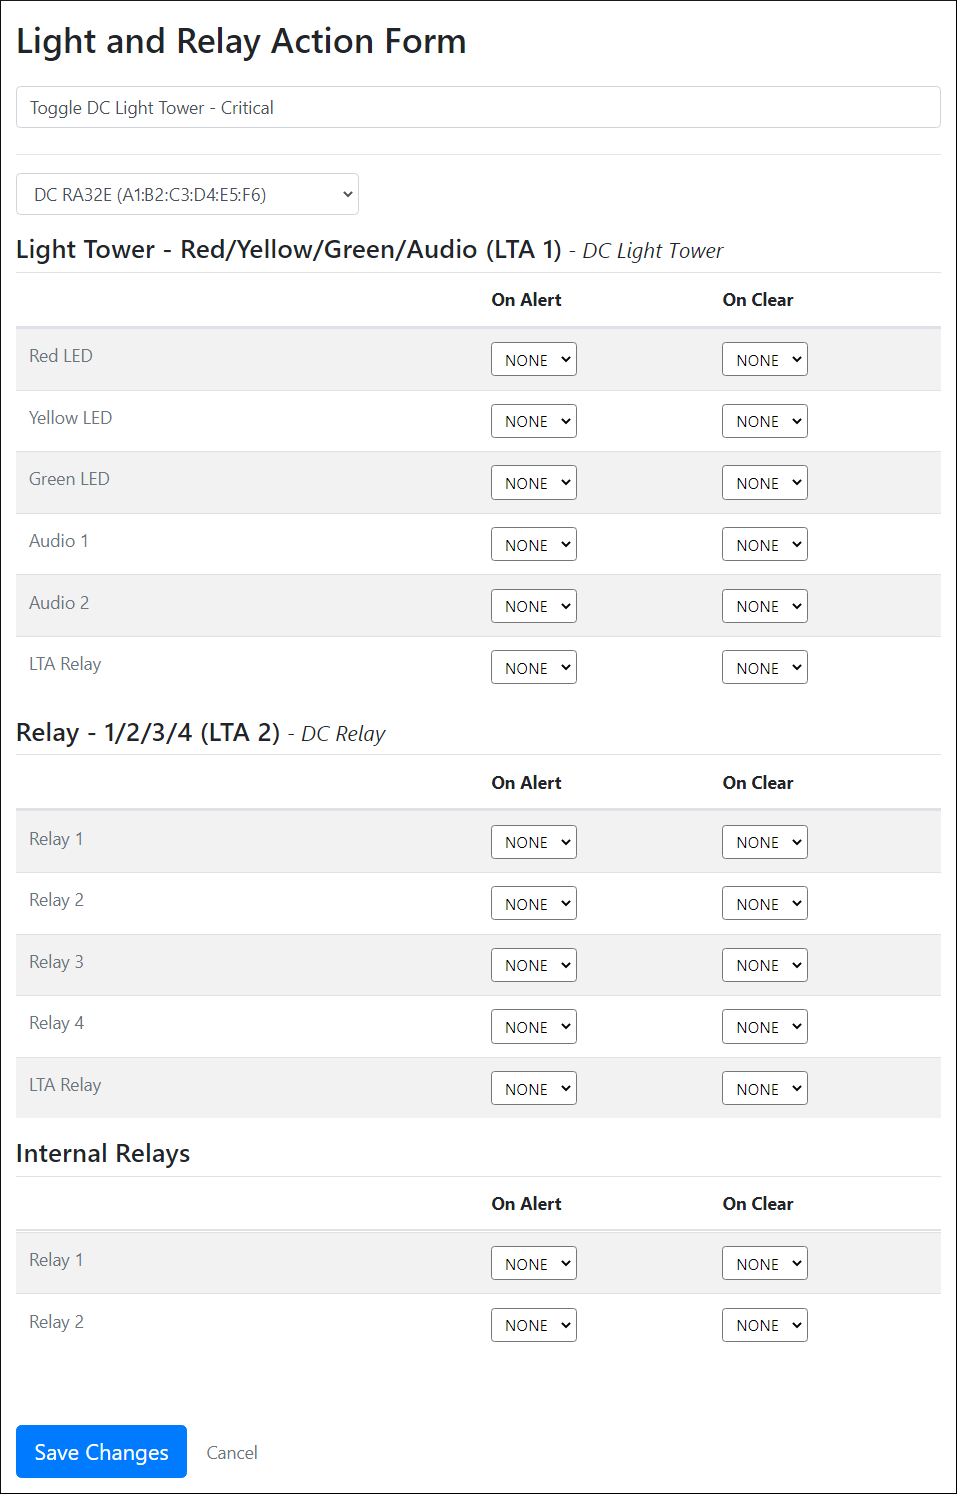
Follow these instructions to configure your Light and Relay Action:

  1. Open Room Alert Manager in your web browser.
  2. Navigate to Actions –> Light/Relay Profiles in the navigation bar to the left.
  3. Then select Create a New Profile.
  4. The Light and Relay Action Form will appear, where you may name your action and select the device that your light tower or relay is connected to.
    • In our example, we’ve named our action “Toggle DC light Tower – Critical.” In the Select a device drop-down menu, we’re choosing the Room Alert 32E in our Data Center.

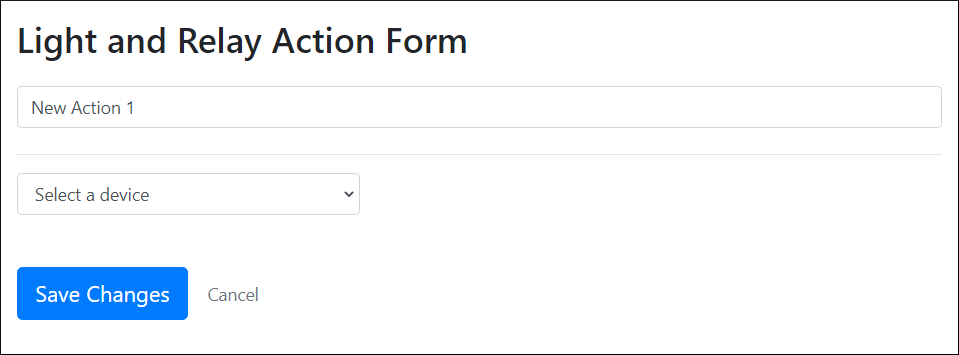
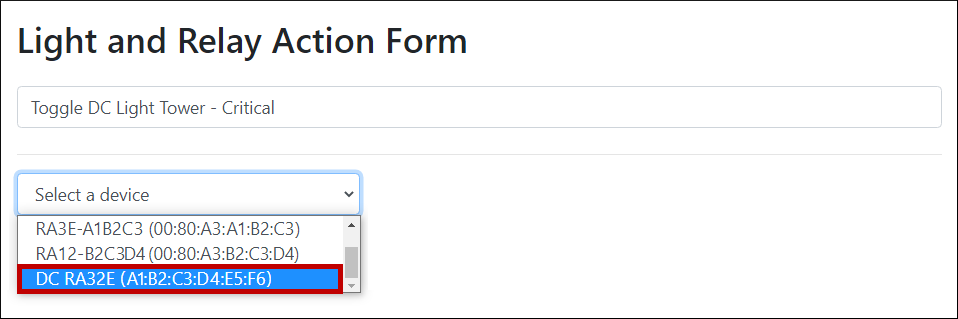
Only one Room Alert Monitor is allowed per each Light and Relay Action. If you wish to toggle multiple Room Alert Monitors, you must create a separate Light and Relay Action for each. You may then associate multiple actions with your alert.

  1. Once you select a device, you’ll see any internal or external relays or light towers connected to that device.
    • In our example, our Room Alert 32E has 1 external light tower (named “DC Light Tower”), 1 external relay (named “DC Relay”), and 2 internal relays.
  2. You may configure alert & clear behaviors for any or all of the device’s light tower and relays.
    • In our example, we are only configuring settings for the device’s external Light Tower:
    • When our action is executed On Alert, the red LED & Audio 1 will turn on. When our action is executed On Clear, the red LED and Audio 1 will turn off, and the green LED will turn on.
    • Any elements in our list with the drop-down option set to “None” will not get toggled on or off by this action.

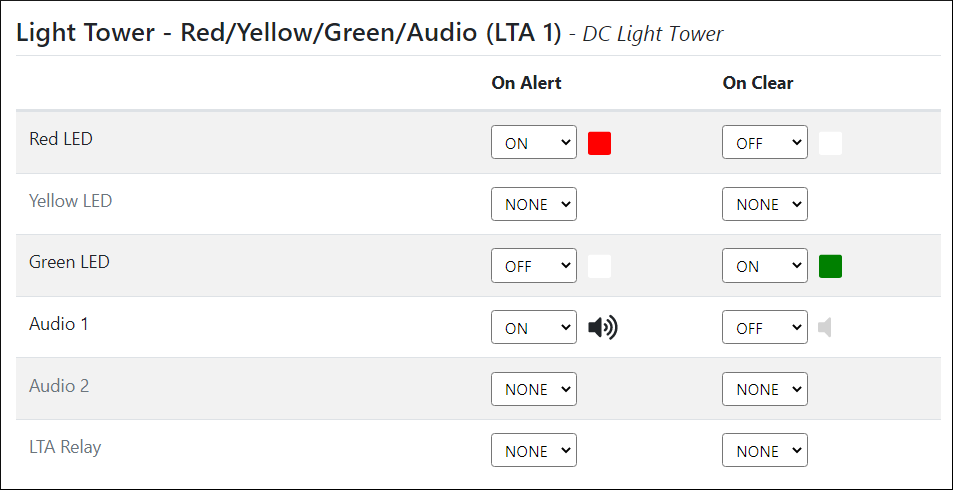
Light tower LEDs/audio and relay toggles that are set to “None” in Room Alert Manager can still be toggled elsewhere. You may have settings in your device’s local web interface, in our legacy Device ManageR software, or in a third-party SNMP program that toggles these elements.

  1. Select Save Changes to save your action.
  2. You’ll return to the main Actions list, where you can view your action details.
  3. Once your action is configured, you may associate it with any alert. Please see our FAQ, How To Create Alerts In Room Alert Manager.

Working with a Room Alert 12E purchased in 2021? Please see our FAQ, Why Your Room Alert 12E Built-in Relay Behavior May Be Reversed.

Facebooktwitterredditpinterestlinkedinmail
Room Alert is Made in the USA, ships worldwide from our locations in the US and EU, and has been protecting facilities since 1988.

You may find Windows Command Prompt at the following path:

  • Windows 7 & 8
    Start--> All Programs--> Accessories--> Command Prompt
  • Windows 10
    Start--> All Apps--> Windows System--> Command Prompt

To run Windows Command Prompt as an administrator:

  • Windows 7 & 8
    Right-click on Command Prompt and select Run as administrator.
  • Windows 10
    Right-click on Command Prompt, select More and then select Run as administrator.

Example Polling Method Properties saved in Orion SolarWinds:

If you are using this client, you should configure the general SNMPv3 Credentials, but leave the Read / Write SNMPv3 Credentials section blank.

Room Alert Link- Supported Firmware Updates


Current S modelsCurrent E models
Room Alert 32SRoom Alert 32E
Room Alert 12SRoom Alert 12E
Room Alert 4E
Room Alert 3E

Room Alert Manager - Compatible Devices

The latest version of Room Alert Manager supports only the devices below.

It does not support any legacy Room Alert or TemPageR models.

Current S modelsCurrent E models
Room Alert 32SRoom Alert 32E
Room Alert 12SRoom Alert 12E
Room Alert 3SRoom Alert 4E
Room Alert 3E
Room Alert 3W